Are you new to the world of AWS (Amazon Web Services) and trying to get familiar with managing your cloud resources? One of the first things you’ll want to do is install the AWS Command Line Interface, or AWS CLI for short. This powerful tool allows you to interact with a wide range of AWS services directly from your terminal or command prompt, making it an essential part of any AWS developer’s toolkit.
In this blog post, we’ll walk you through the process of installing the AWS CLI step-by-step, so you can start automating your AWS workflows and managing your cloud infrastructure like a pro. By the end, you’ll be equipped with the knowledge and skills to get the AWS CLI up and running on your local machine, whether you’re using Windows, macOS, or a Linux distribution.
What is the AWS CLI and Why Do You Need It?
The AWS CLI is a unified tool that provides a consistent interface for interacting with the various AWS services you might use, from EC2 instances and S3 buckets to Lambda functions and DynamoDB tables. Instead of navigating through the AWS Management Console’s web interface for every task, you can use the CLI to automate common workflows, write scripts, and manage your AWS resources more efficiently.
Some of the key benefits of using the AWS CLI include:
- Increased Productivity: By automating repetitive tasks, the CLI can save you a significant amount of time and effort, allowing you to focus on more important aspects of your project.
- Improved Consistency: The CLI provides a unified way to interact with AWS services, ensuring that your scripts and workflows work the same way across different services and regions.
- Better Flexibility: The CLI gives you more granular control over your AWS resources, allowing you to perform complex operations that might not be possible or practical through the web console.
- Enhanced Scripting Capabilities: You can easily incorporate AWS CLI commands into your own scripts and automation tools, enabling you to build more sophisticated and powerful workflows.

Step-by-Step Guide to Installing the AWS CLI
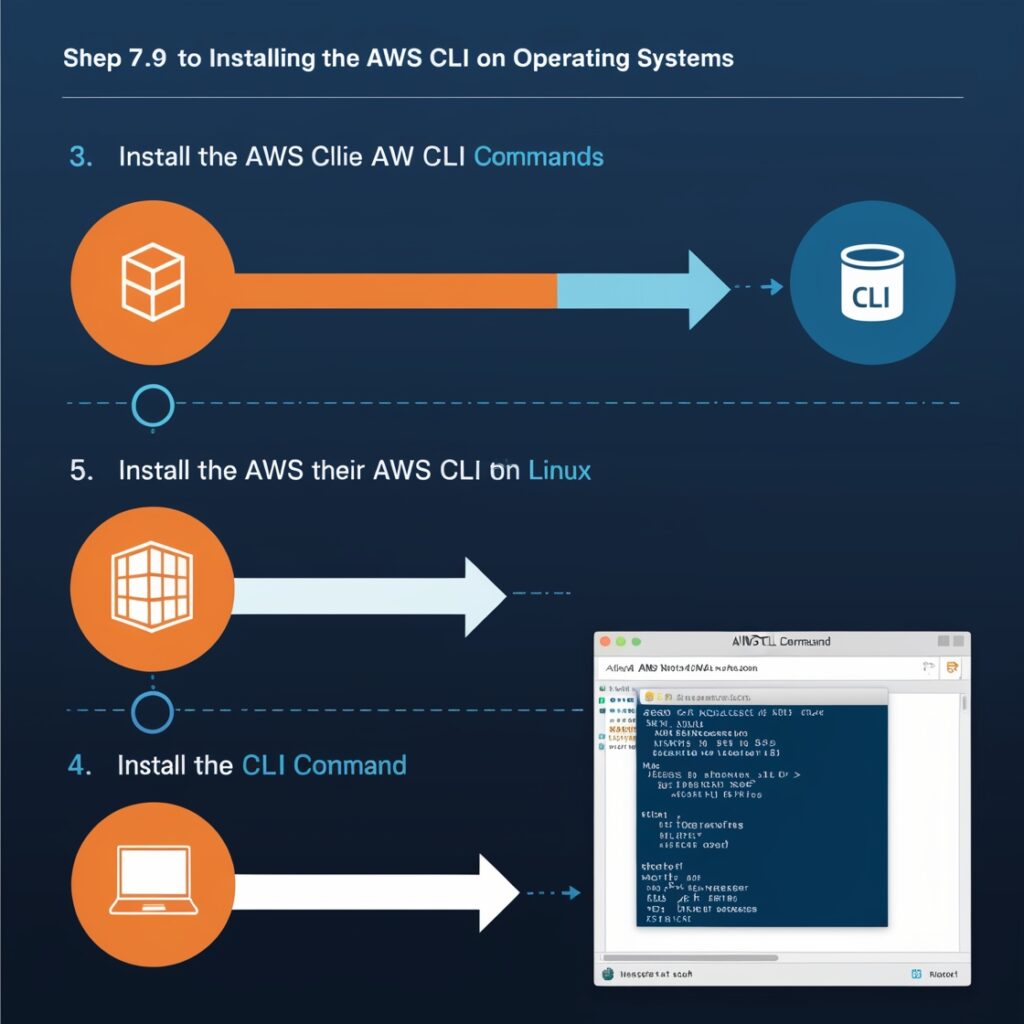
Now that you understand the benefits of using the AWS CLI, let’s dive into the installation process. Depending on your operating system, the steps may vary slightly, but we’ll cover the most common setups.
Windows
- Download the Installer: Visit the AWS CLI downloads page and select the Windows installer for your system (32-bit or 64-bit).
- Run the Installer: Double-click the downloaded installer file and follow the on-screen instructions to complete the installation process.
- Verify the Installation: Open the Windows Command Prompt (cmd.exe) or PowerShell and type
aws --version. You should see the version of the AWS CLI that you just installed.
macOS
- Install Using Package Manager: The easiest way to install the AWS CLI on macOS is by using a package manager like Homebrew. Open the Terminal and run the following command:
brew install aws-cli- Verify the Installation: After the installation is complete, type
aws --versionin the Terminal to confirm that the AWS CLI is installed and working correctly.
Linux
The installation process for Linux can vary depending on your distribution, but we’ll cover the steps for the two most popular ones: Ubuntu and CentOS.
Ubuntu
- Update the Package Lists: Open the Terminal and run the following command to update the package lists:
sudo apt-get update- Install the AWS CLI: Install the AWS CLI using the following command:
sudo apt-get install awscli- Verify the Installation: Type
aws --versionin the Terminal to confirm the installation.
CentOS/RHEL
- Install the epel-release Package: CentOS and RHEL require the epel-release package, which provides access to additional software repositories. Run the following command in the Terminal:
sudo yum install epel-release- Install the AWS CLI: Install the AWS CLI using the following command:
sudo yum install aws-cli- Verify the Installation: Type
aws --versionin the Terminal to confirm the installation.
Configuring the AWS CLI
After installing the AWS CLI, you’ll need to configure it with your AWS credentials to start using it. Here’s how:
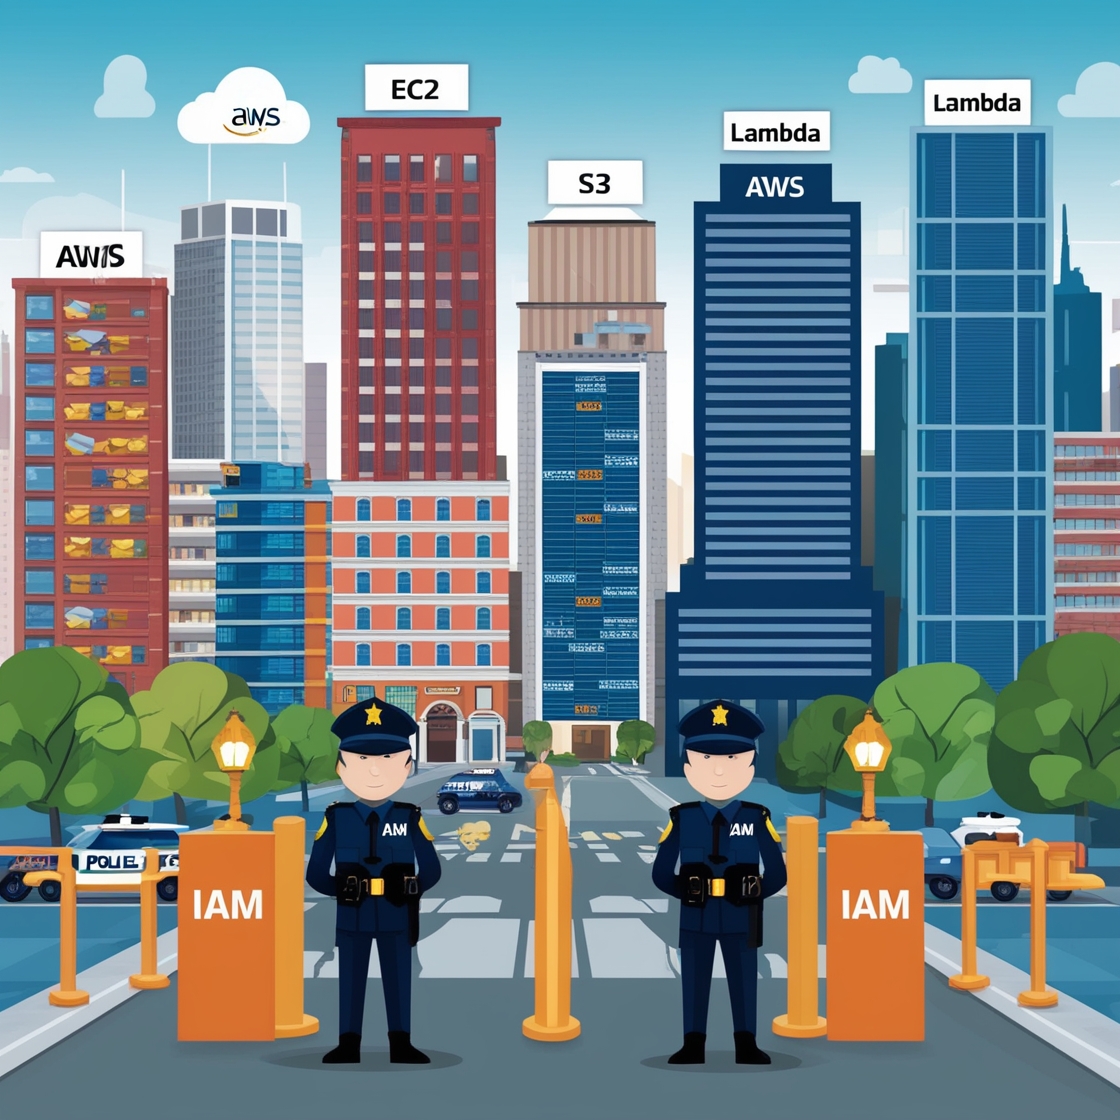
- Obtain Your AWS Credentials: Log in to the AWS Management Console and navigate to the IAM (Identity and Access Management) service. Create an IAM user with the necessary permissions for your use case and note down the Access Key ID and Secret Access Key.
- Run the Configuration Command: In the Terminal or Command Prompt, type
aws configureand follow the prompts to enter your AWS credentials:
   aws configure
   AWS Access Key ID [None]: your_access_key_id
   AWS Secret Access Key [None]: your_secret_access_key
   Default region name [None]: your_aws_region
Default output format [None]: json- Verify the Configuration: You can test the configuration by running a simple AWS CLI command, such as
aws s3 ls, which will list all the S3 buckets in your AWS account.
And that’s it! You’ve successfully installed and configured the AWS CLI on your local machine. Now you can start automating your AWS workflows, managing your cloud resources, and exploring the vast capabilities of the AWS ecosystem.
Remember, the AWS CLI is a powerful tool, and there’s much more to explore beyond the basics. Be sure to check out the AWS CLI documentation to learn about advanced features, command-line options, and best practices for using the CLI effectively.
Happy cloud computing!
Next: Mastering AWS AppSync: The Ultimate Guide to Crafting Scalable and Dynamic GraphQL APIs


